Deploying a Static Website on AWS

I love Python and DevOps. I love to read about Tech. My environment is Linux but I use a windows machine hence.....
The cloud can host Static Websites (i.e websites that only include HTML, CSS, and Javascript files, with no server-side rendering).
In this project, we will be deploying a static website to AWS.
This project has two primary objectives:
Hosting a static website on AWS S3
Using AWS CloudFront to lower latency to the website.
The sample website can be downloaded from GitHub. Kindly clone the repository locally.
Step 1: Create an AWS S3 Bucket
Log in to the AWS console. Navigate to the search bar, type S3 and select the S3 service as shown below:

The Amazon S3 dashboard displays. Click “Create bucket” as shown below:
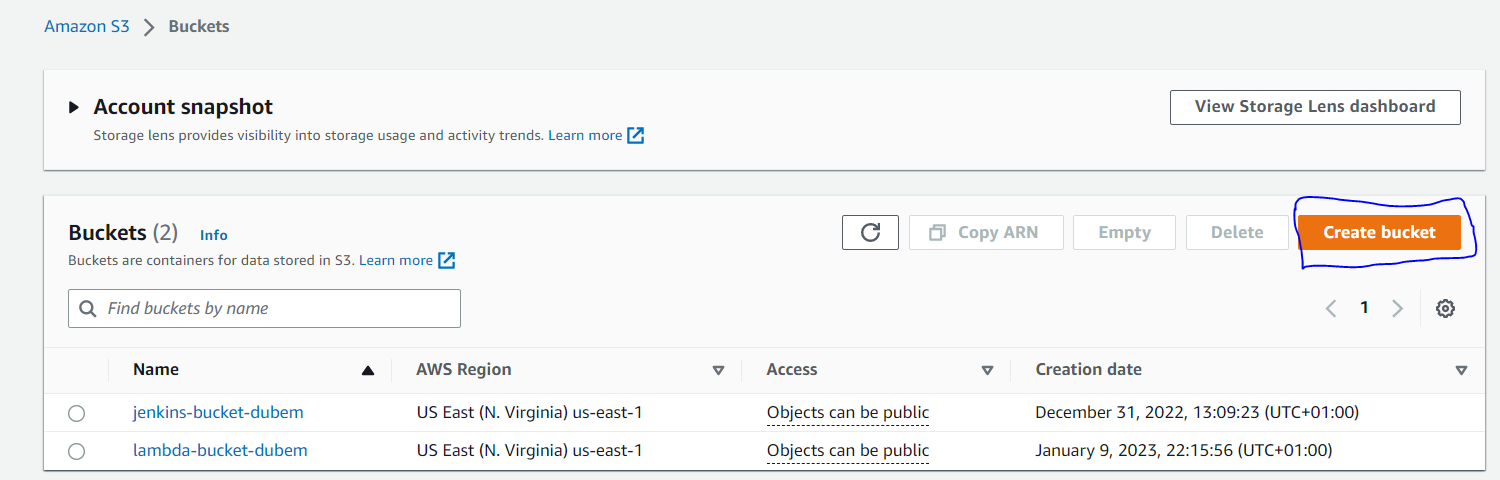
From the image above I already have some buckets created for some projects.
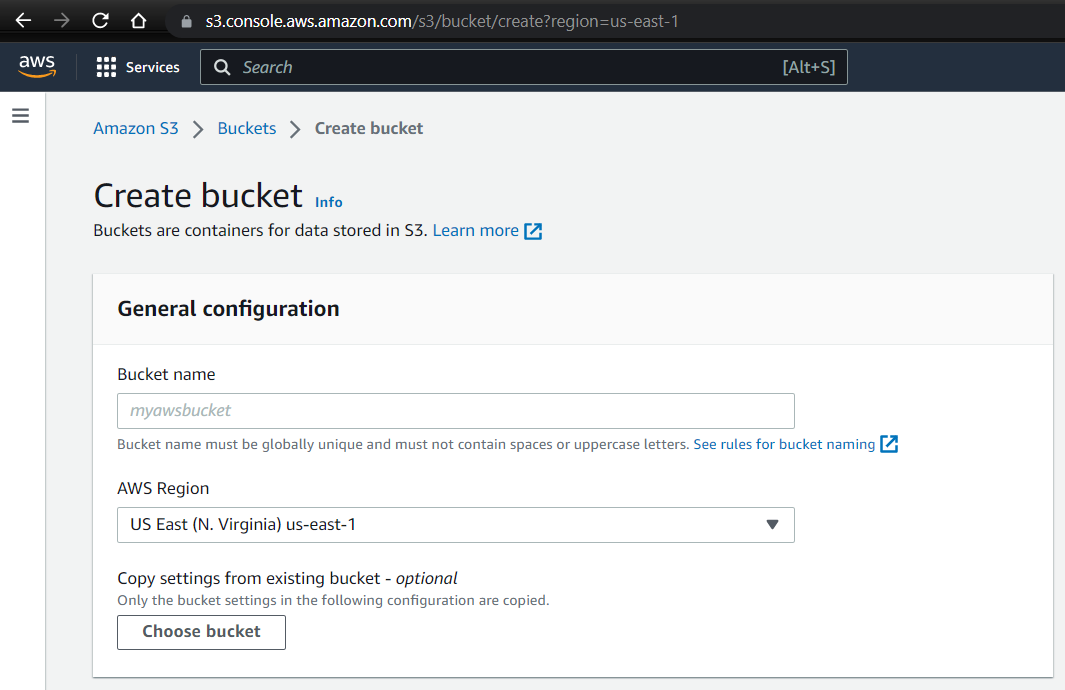
In the General Configuration, enter your preferred "Bucket Name". Note that the bucket name must be globally unique. Also, you can choose your AWS Region. Usually, you may want to want to leave the default. See the image below:
In the Bucket settings for the "Block Public Access" section, uncheck the “Block all public access”. It will enable public access to the bucket objects via the S3 object URL. We are allowing public access to the bucket since hosting requires the content to be publicly readable.
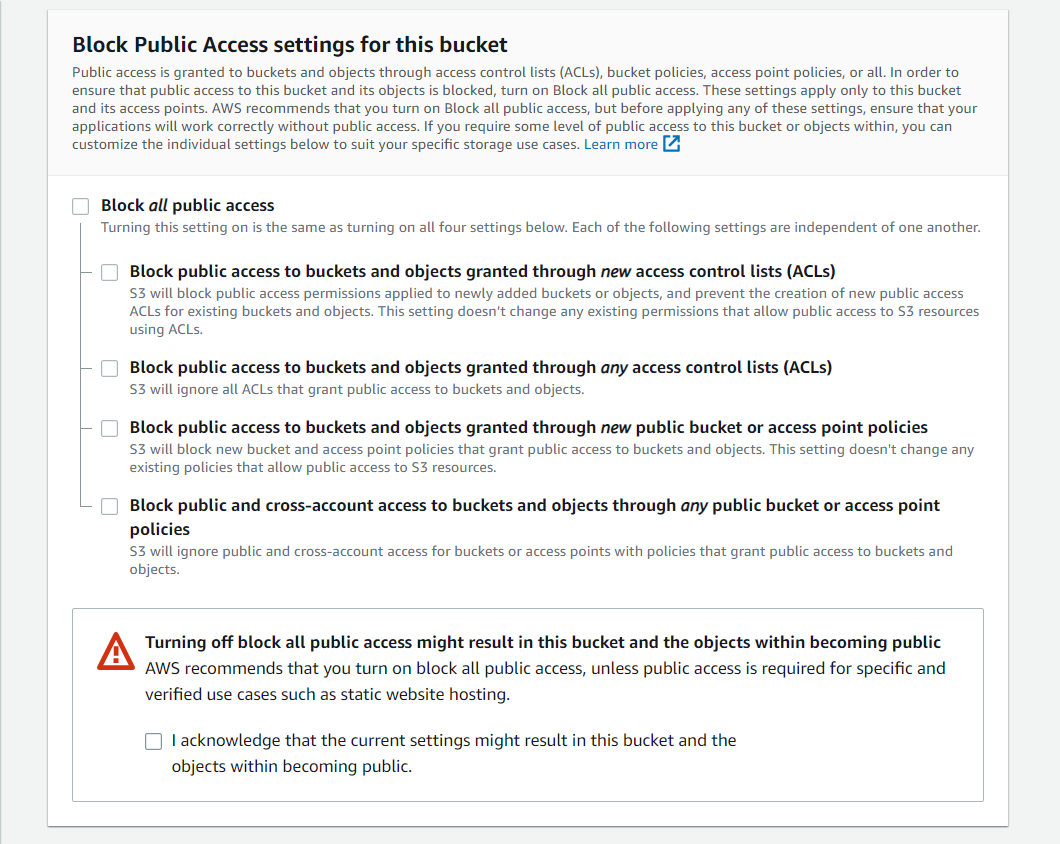
Remember to acknowledge turning off "Block all public access"
Leave other options as they are and click "Create Bucket"
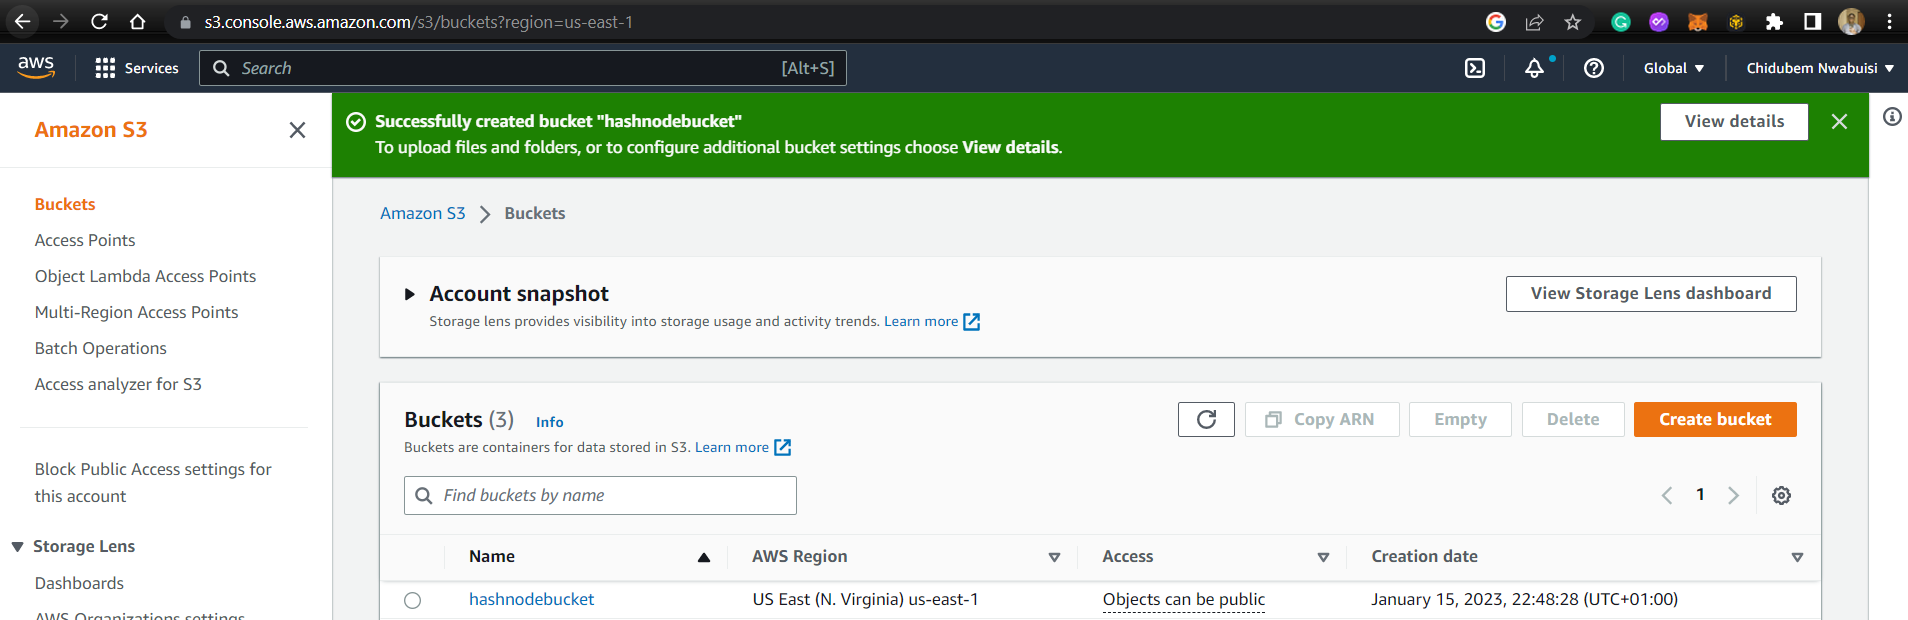
After that, you should see the bucket you created on the dashboard. In my case, the bucket name is "hashnodebucket"
Step 2: Upload Files to S3 Bucket
When uploading the folders/files, there are two ways to go about it:
Using the AWS console. I would not recommend this approach since successful upload is dependent on your internet speed and the size of the items you are uploading.
Using AWS CLI.
AWS Console:
Once the `bucket is created, click on the created bucket, then click on "Upload" as shown below:
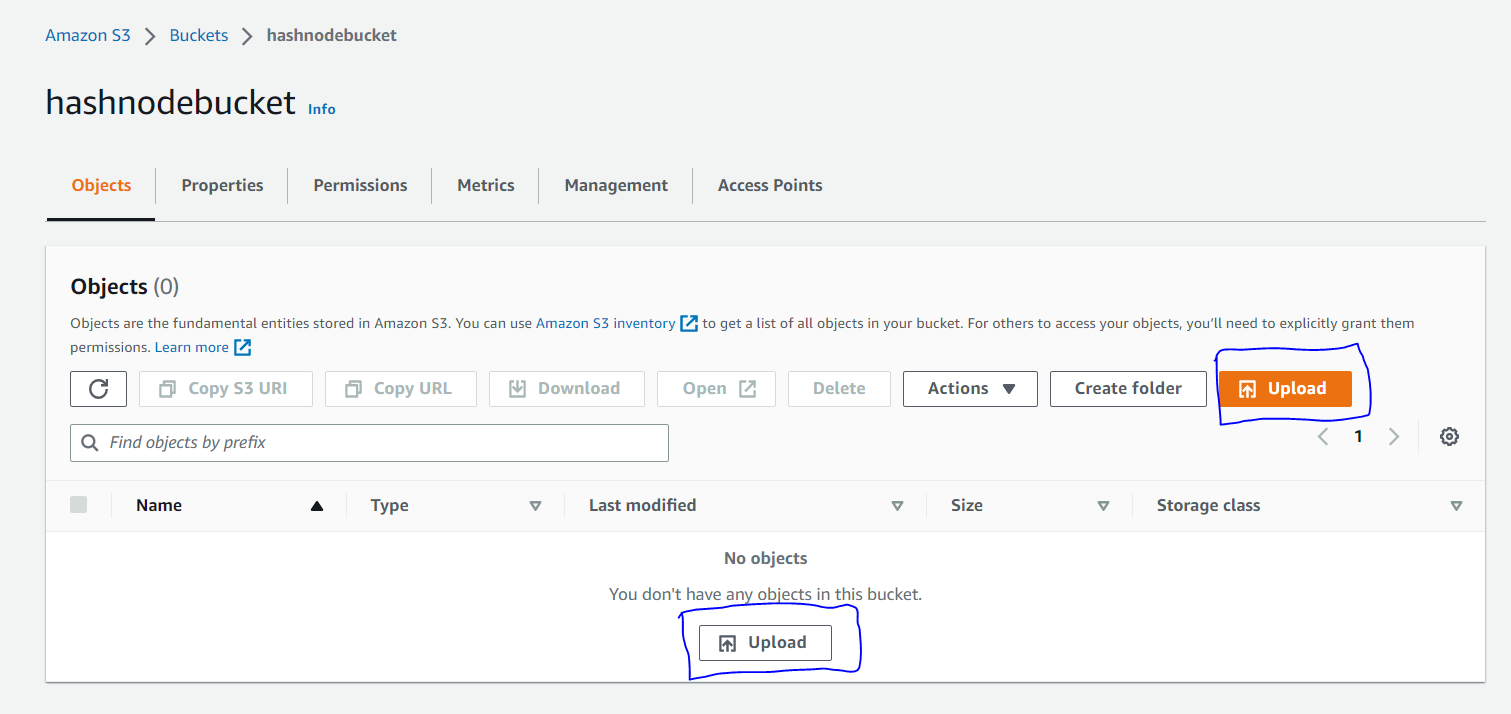
On the next page, depending on the content you are uploading, select either "Add Files" or "Add Folders". This should open a window that allows you to select files and folders from the project repository cloned earlier.
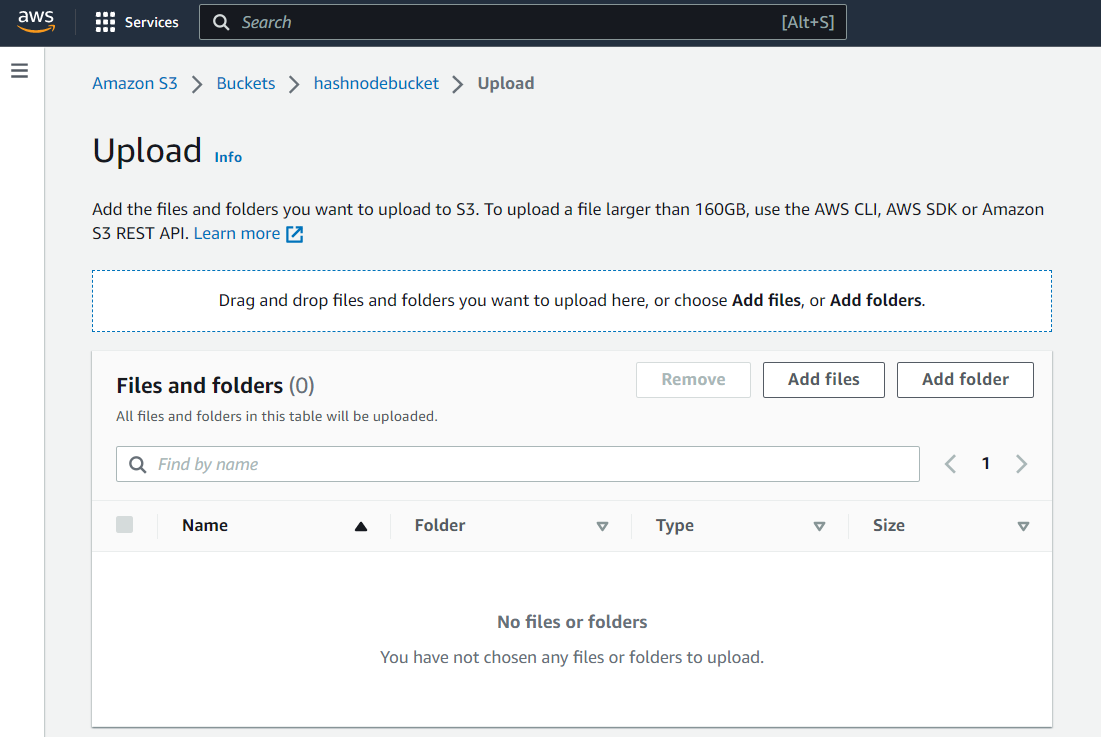
After adding your files or folders, Click on "Upload".
The next screen should be as one shown below:
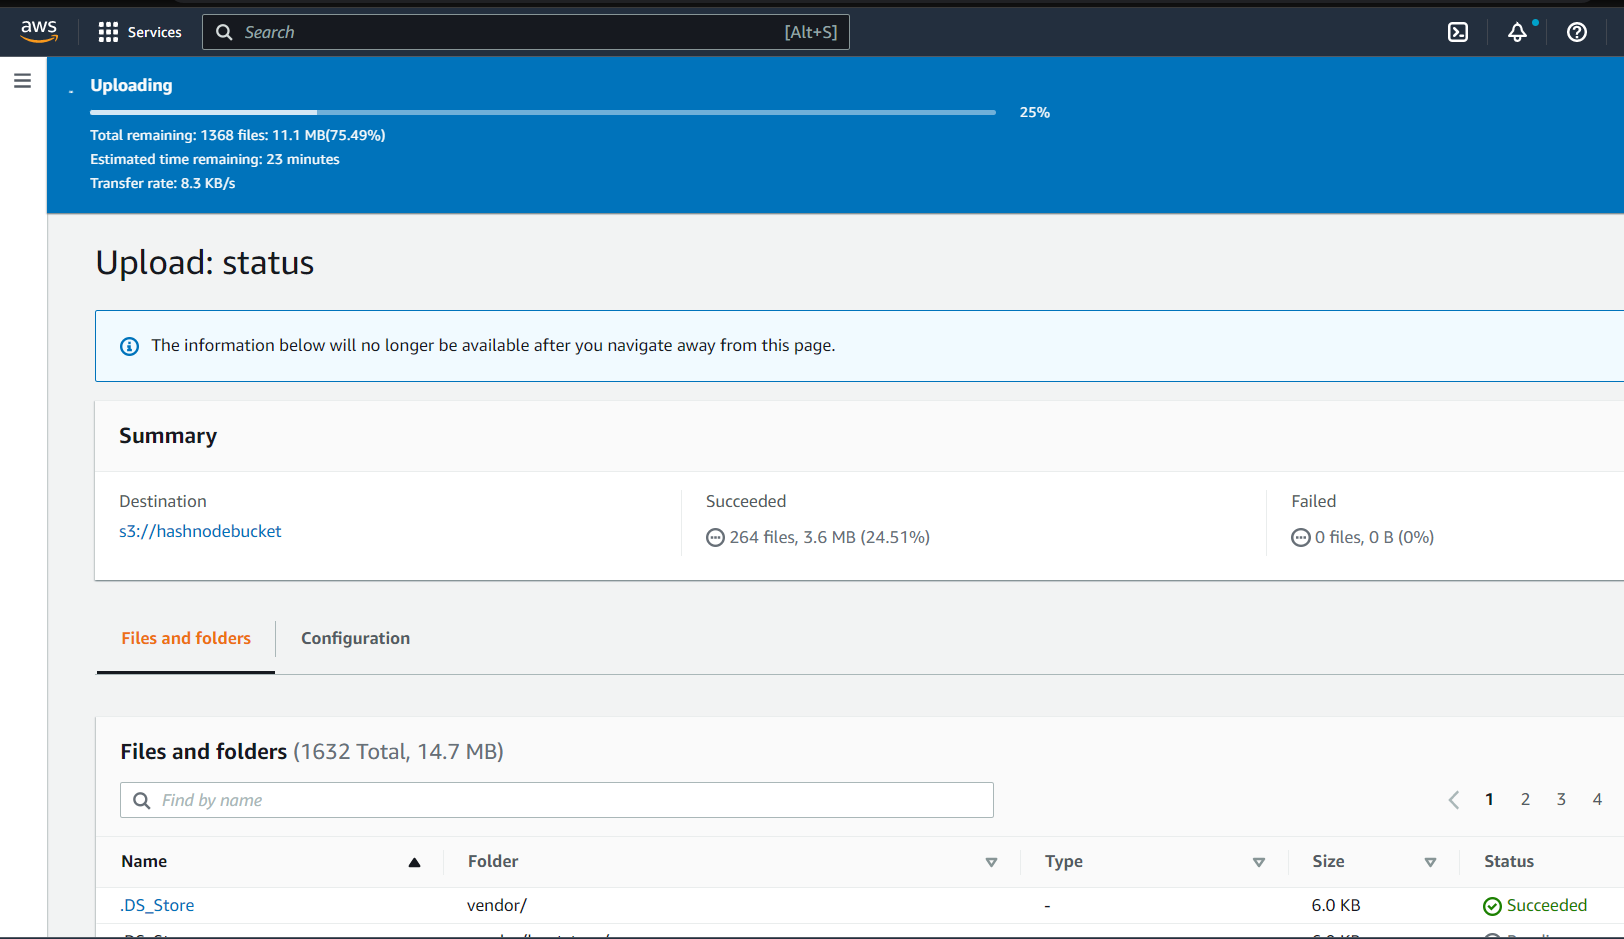
Once the contents are done uploading, we proceed to step 3.
AWS CLI:
Using AWS CLI can assist in bypassing local network-related issues. AWS CLI is used to interact with AWS resources from your PC command line interface or terminal.
To configure AWS CLI, you need to have created an AWS IAM user with programmatic access. This will provide the AWS access key ID and AWS secret access key needed for configuration. Read through this blog.
When done with configuring AWS CLI, open your local terminal from the project repository cloned earlier. Your terminal should be like the below:
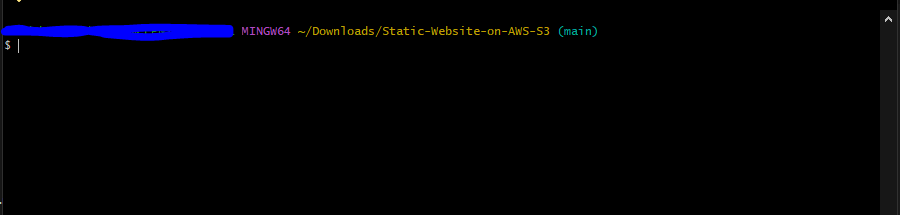
then run through the following commands one step at a time.
# Assuming the bucket name is hashnodebucket and your PWD is the "Static-Website-on-AWS-S3" folder
# Put a single file.
aws s3api put-object --bucket hashnodebucket --key index.html --body index.html
# Copy over folders from local to S3
aws s3 cp vendor/ s3://hashnodebucket/vendor/ --recursive
aws s3 cp css/ s3://hashnodebucket/css/ --recursive
aws s3 cp img/ s3://hashnodebucket/img/ --recursive
After this, head back to the AWS console and confirm that files and folders were successfully uploaded to the hashnodebucket bucket. See the image below:

Step 3: Securing the S3 Bucket.
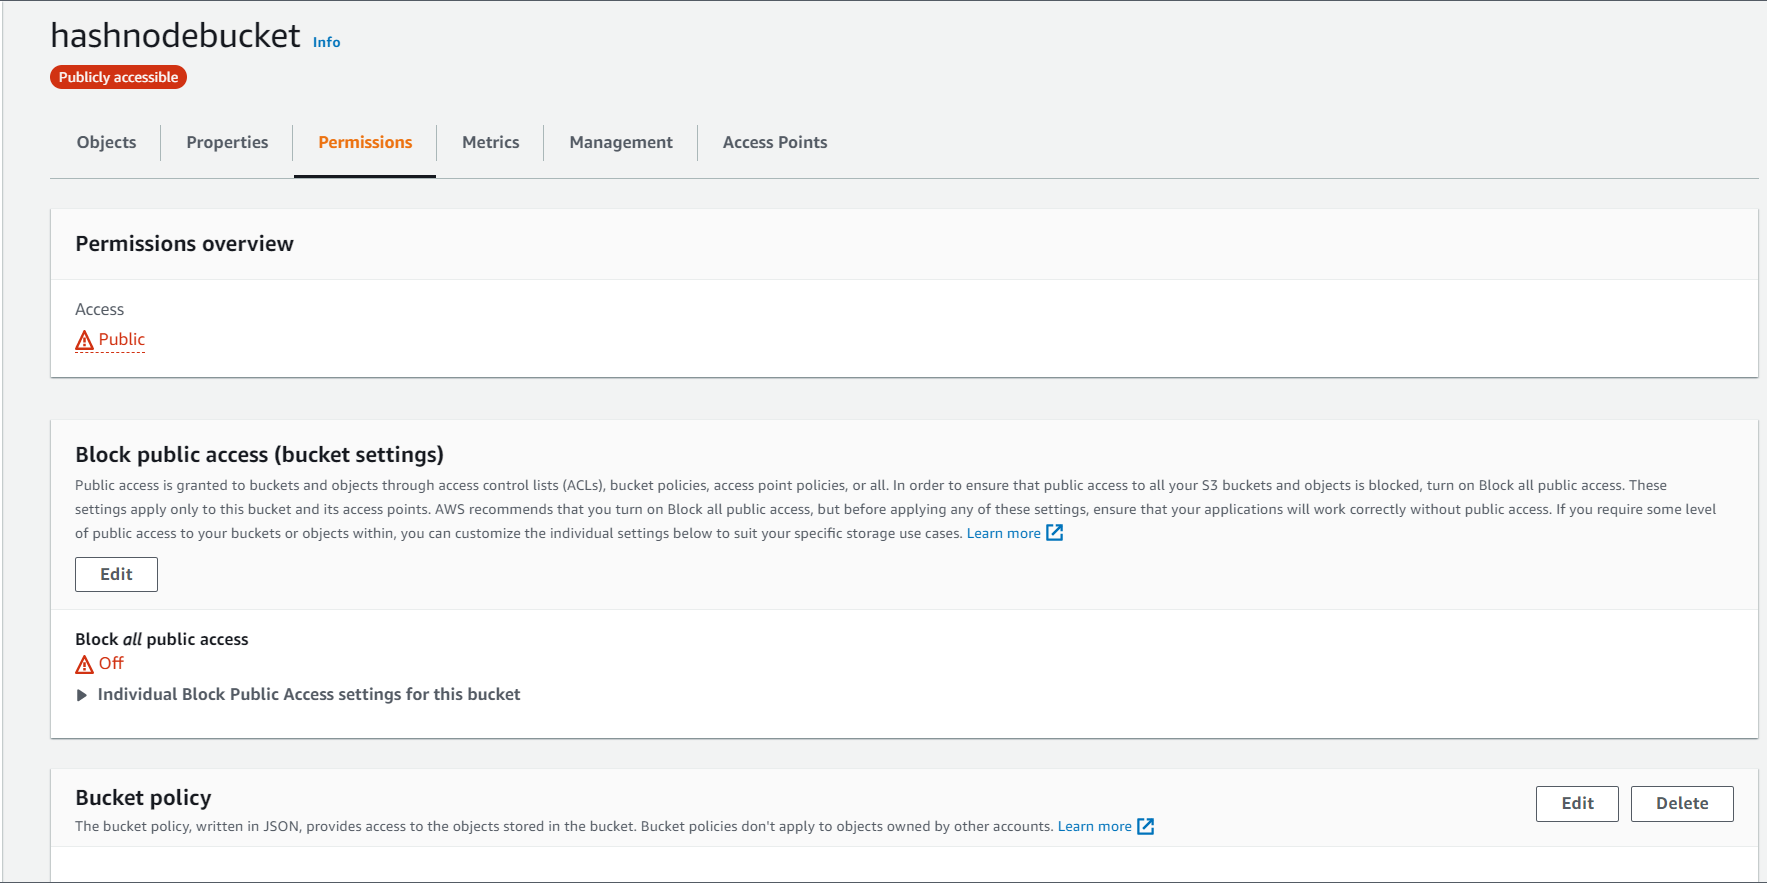
Since the bucket is publicly available, there is a need to secure the s3 bucket by adding permissions and policies to s3.
On the created S3 bucket, click on the permissions tab and go down to the Bucket Policy section. See the image below:

Edit the Bucket Policy and add the following snippets. *Note: replace hashnodebucket with your bucket name*
{
"Version":"2012-10-17",
"Statement":[
 {
   "Sid":"AddPerm",
   "Effect":"Allow",
   "Principal": "*",
   "Action":["s3:GetObject"],
   "Resource":["arn:aws:s3:::hashnodebucket/*"]
 }
]
}
Step 4: Configuring the S3 Bucket to server as a Static Web Host.
Go to the Properties Tab of the bucket and scroll down to the Static Website Hosting section then click on Edit.

Select enable and reference the index.html as your default page of the website.
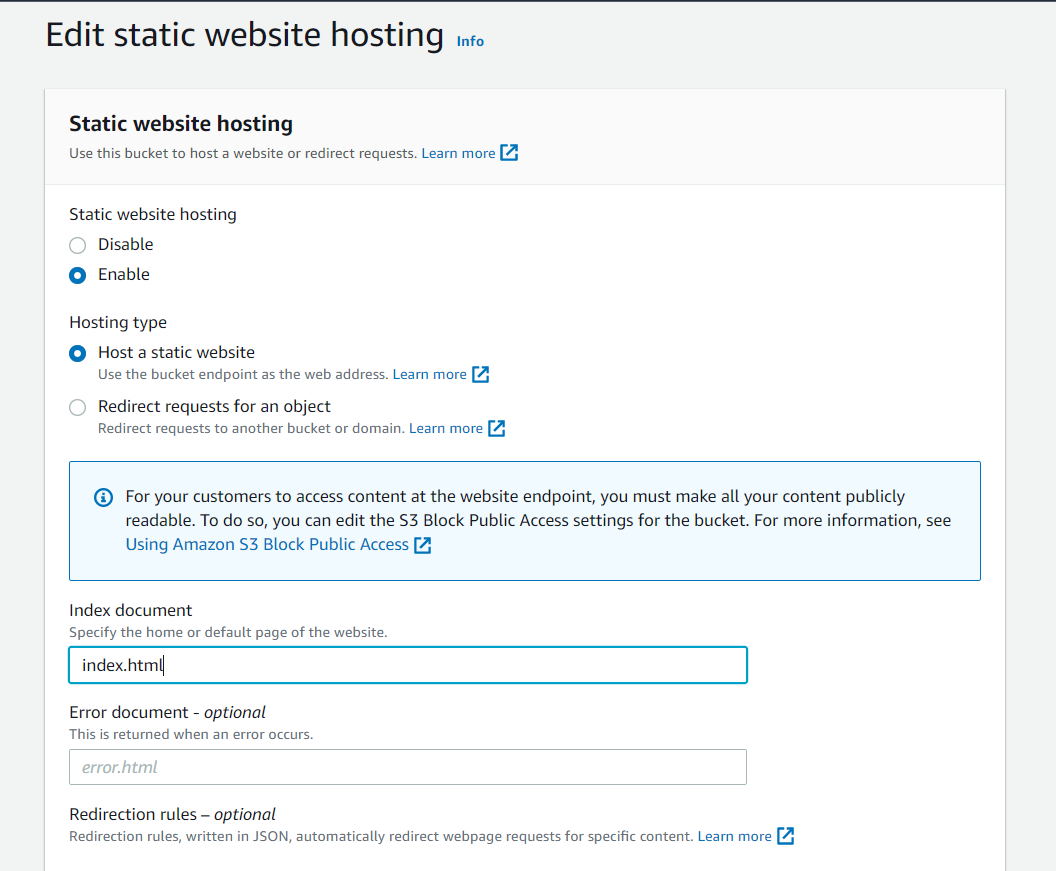
Click on "Save Changes".
AWS will create a bucket website endpoint as seen below:
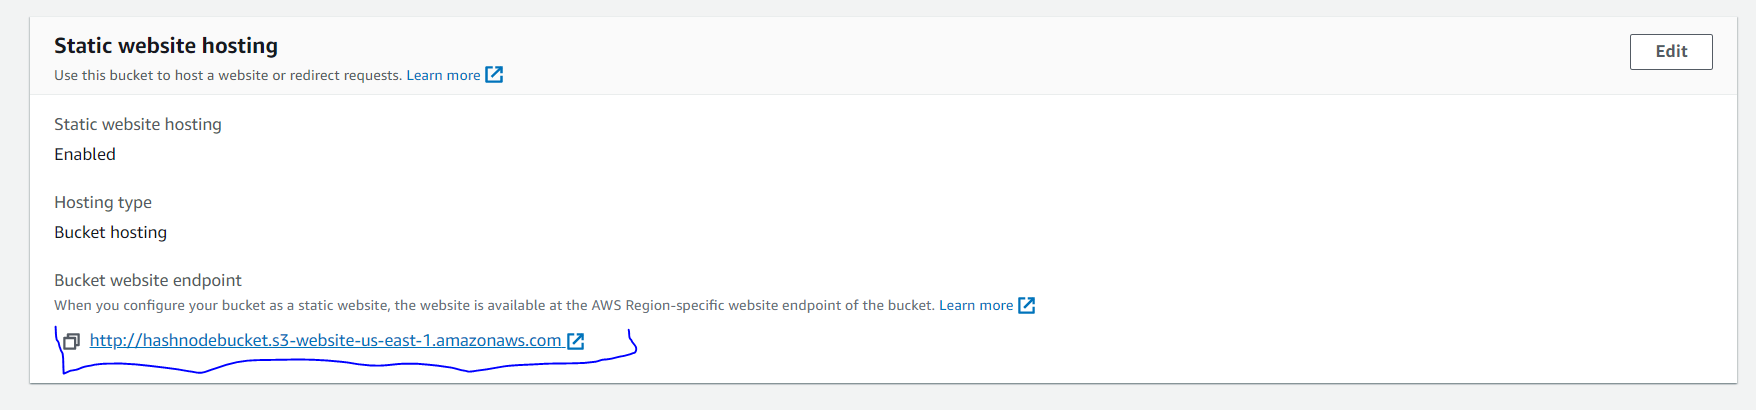
This endpoint will be used to set up CloudFront.
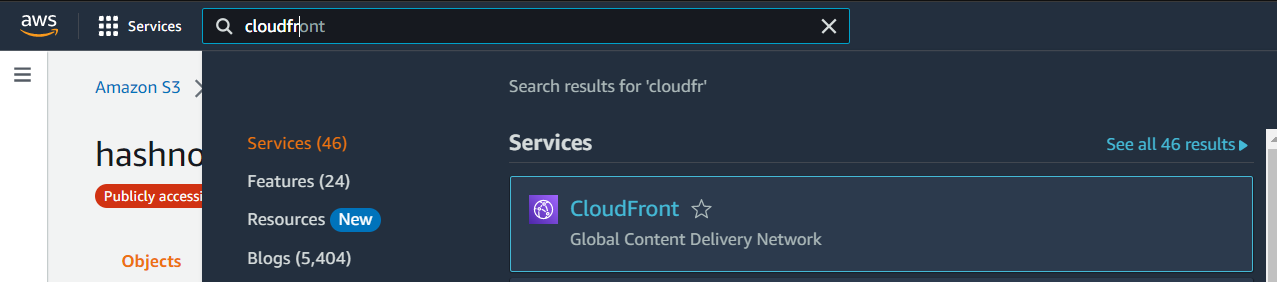
Step 4: Distribute the Website via CloudFront.
From the AWS console. Search for Cloudfront.
From the CloudFront dashboard, click on "Create Distribution"
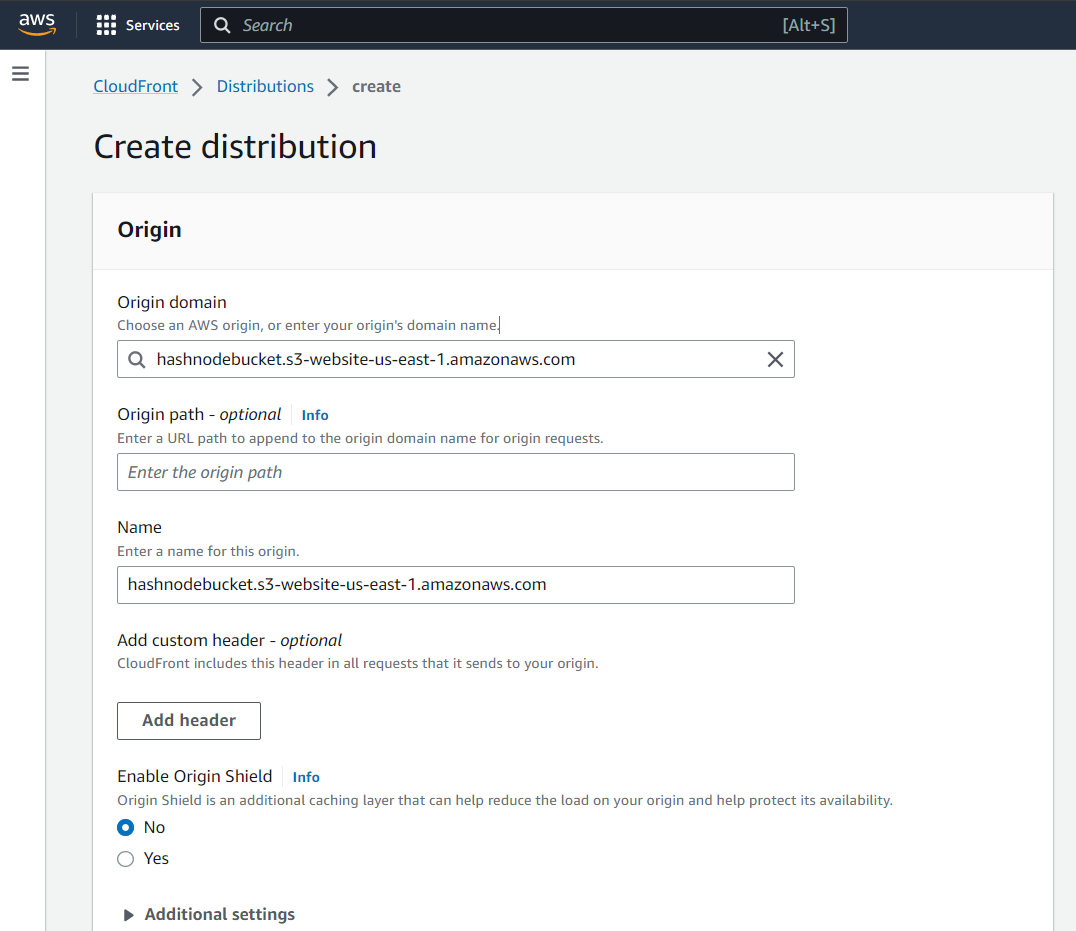
On the next page, when selecting Origin Domain, do not select from the dropdown list, instead use the bucket website endpoint copied in step 3. In my case hashnodebucket.s3-website-us-east-1.amazonaws.com. Also, the Origin path should be "/index.html". Leave other options default as they were then click on Create Distribution.
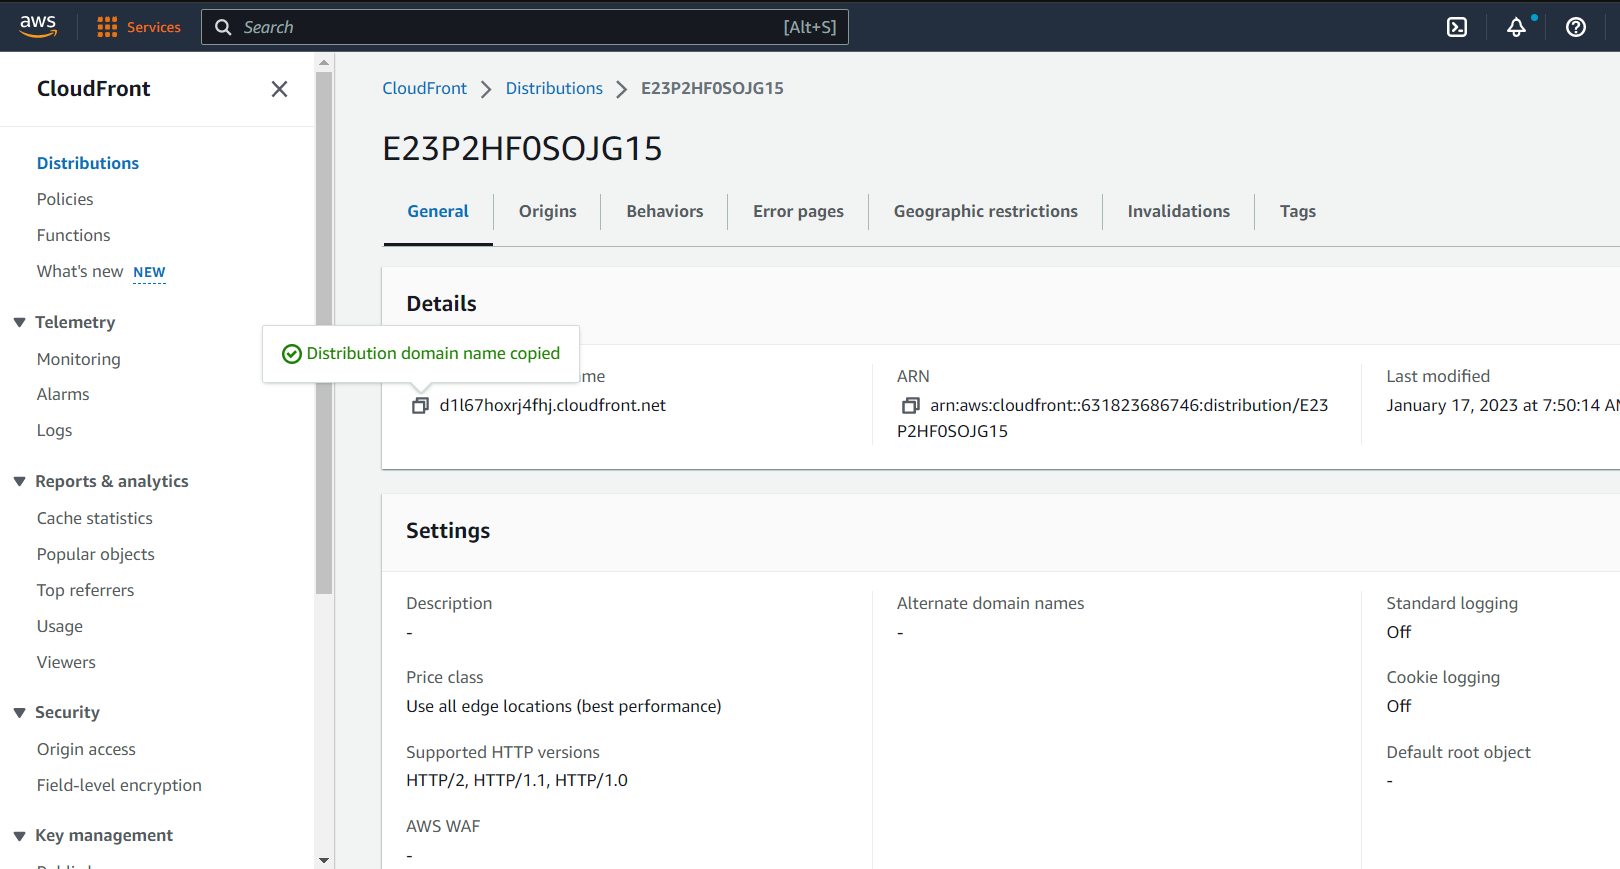
Creation of distribution can take up to 5 to 10 minutes. You can monitor the status from the dashboard.
When done copy the domain URL from the dashboard.
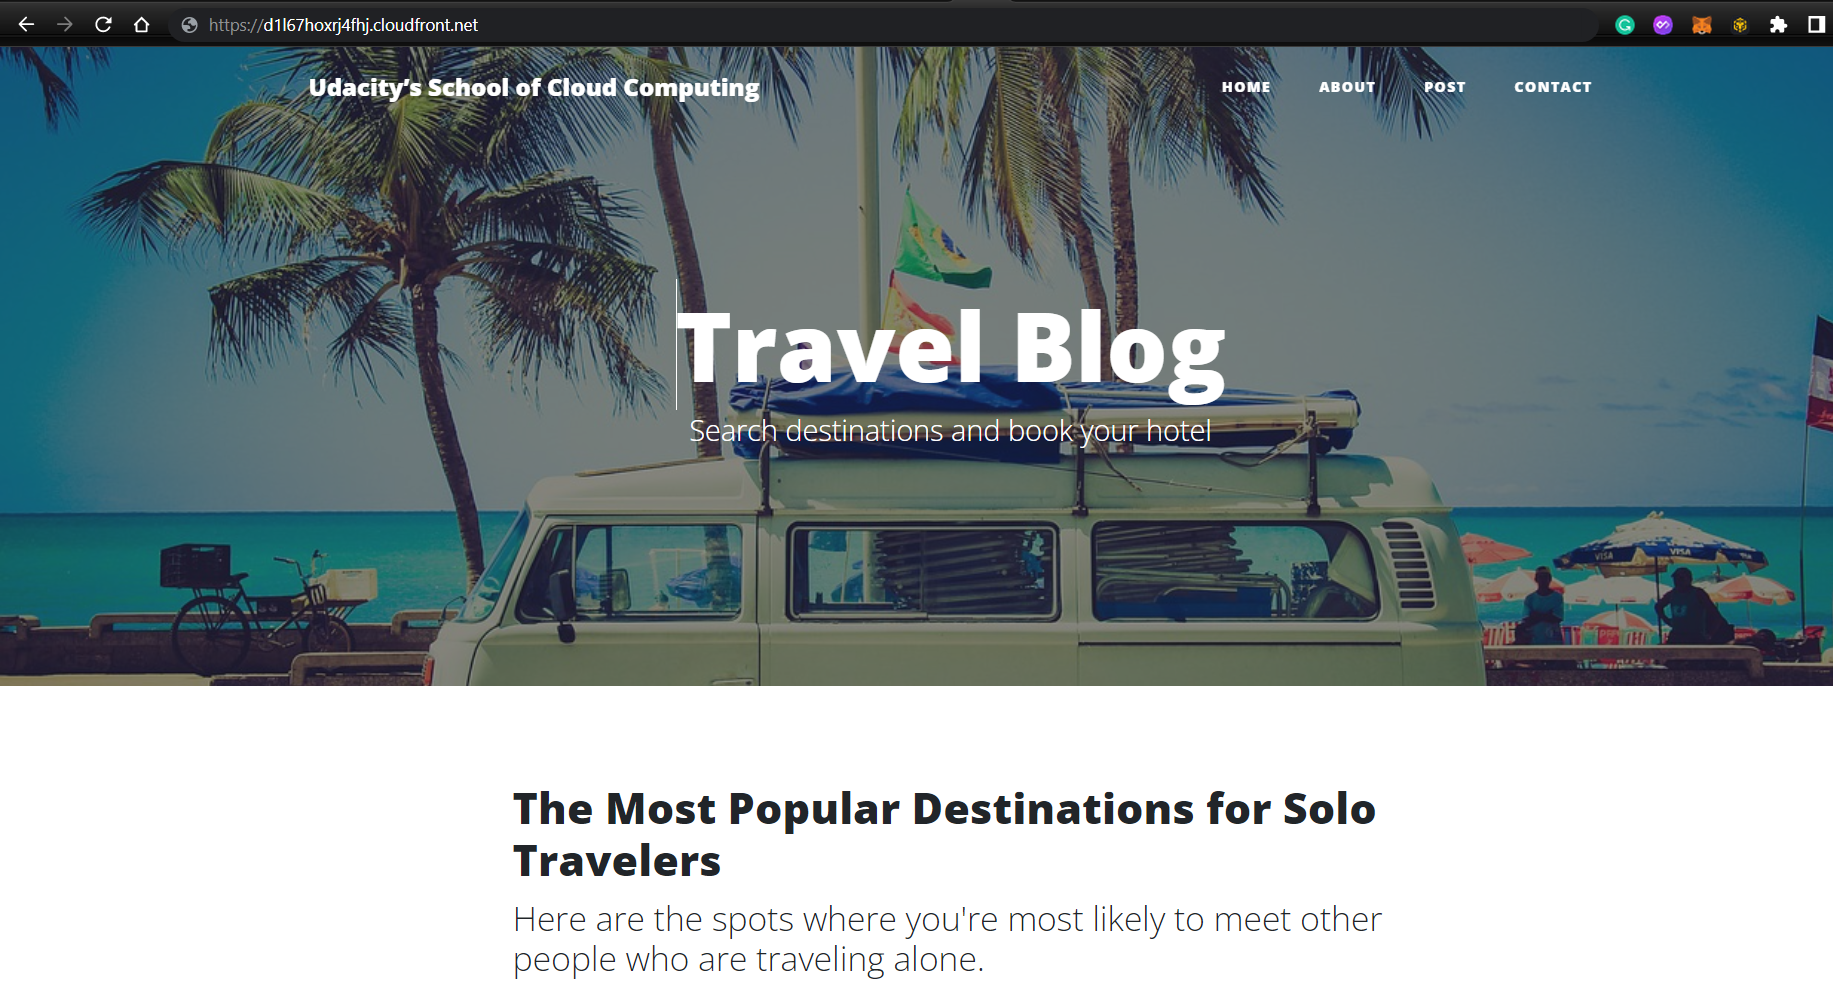
paste on your browser. you should see your page live.
Thank you for your time.
You can reach out on Twitter or Linkedin if you experience issues with this project.


